The time has finally come to have final inspections. That doesn't mean we're done. There is still tons of stuff to do before we move it, but none of it is for "code". We still have to install the flooring, which we started over the weekend, and finish our open shelving cabinets, and finish touch up paint. The county doesn't care about any of that cosmetic stuff, just the safety stuff.
We were told not to expect to pass finals the first time. There are lots of little details the inspectors look for. Each inspector has their "specialty", so we actually had two inspectors come out yesterday. One did the framing final inspection, and the plumbing. The other did the electrical final. And I guess any of them can do the septic/sewer and water inspection.
I scheduled the inspections on a day I didn't have to go to work, and Matt took the whole day off so he could be there as well. I followed the inspectors around and took notes on all the corrections we had to make to get our C.O. (certificate of occupancy).
Here's the list:
And now the list with explanations:
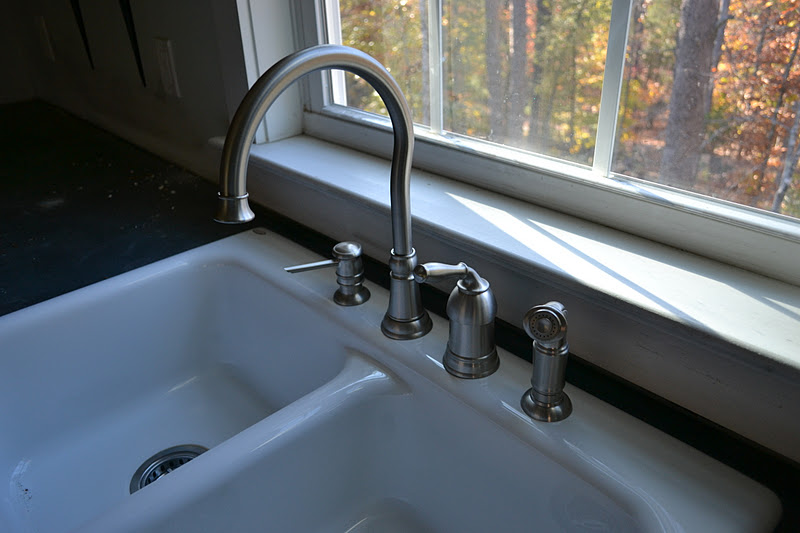
- caulk around sink, countertops, and toilets
(I was planning on getting around to that, but didn't know it was for code)
We were told not to expect to pass finals the first time. There are lots of little details the inspectors look for. Each inspector has their "specialty", so we actually had two inspectors come out yesterday. One did the framing final inspection, and the plumbing. The other did the electrical final. And I guess any of them can do the septic/sewer and water inspection.
I scheduled the inspections on a day I didn't have to go to work, and Matt took the whole day off so he could be there as well. I followed the inspectors around and took notes on all the corrections we had to make to get our C.O. (certificate of occupancy).
Here's the list:
- caulk around sink, countertops, and toilets
- add hand rail to other side of stairs
- reduce clearance between bottom of rail and top of steps to less than 6 in.
- garage door needs more ribs
- write up builders energy certificate
- plywood over paper insulation in garage
- drywall over exposed insulation on garage side of stairs
- 2x10's under deck are overspan. need another post
- need more contact on deck footings to spread load
- cover HVAC thermostat wire with conduit
- silicone around outdoor lanterns
- GFCI 15 amp breaker for garage door opener
- 100 sq. in. of ventilation in laundry closet
- protect horizontal wiring in garage bath and "cave" storage room upstairs
- need waterproof shower light
And now the list with explanations:
- caulk around sink, countertops, and toilets
(I was planning on getting around to that, but didn't know it was for code)
- add hand rail to other side of stairs
(we did that last night after they left. we will probably remove it after we move it, if it's in our way)
- reduce clearance between bottom of rail and top of steps to less than 6 in.
(we fixed that last night by nailing up a board under the rail to block out that space. we'll remove that after inspection)
- garage door needs more ribs
(the bars that run behind each section to give it strength. must meet the 90mph wind code)
- write up builders energy certificate
(don't really know what this is, but Matt says it's simple and we just type it up and staple it in a utility room)
- plywood over paper insulation in garage
(we were planning on doing that after we move it, but didn't know it had to be done now. the insulation can be left opened, but not the paper covering on it, so they said we could remove the paper and it would pass. that's ridiculous)
- drywall over exposed insulation on garage side of stairs
(still not sure he was right on that one since this wall is technically an exterior wall since the opened stairs are on the other side, but we'll see.)
- 2x10's under deck are overspan. need another post
(our framer made a big oops on that one. he ran 2x10's 14 ft. across, supporting the deck floor. they can only be 7 ft, or something, without another post. the floor seems secure to us and this will block Matt's 4-wheeler/tractor storage. He's not happy about that but we might remove that later too)
- need more contact on deck footings to spread load
- cover HVAC thermostat wire with conduit
- silicone around outdoor lanterns
(there is a big gap behind the light fixture for water and bugs to get in)
- GFCI 15 amp breaker for garage door opener
- 100 sq. in. of ventilation in laundry closet
(we have to add a vent on the hallway wall for fresh air, or switch the solid doors for louvered doors)
- protect horizontal wiring in garage bath and "cave" storage room upstairs
- need waterproof shower light
(the electrician used a regular recessed light fixture in the shower. wtf?)
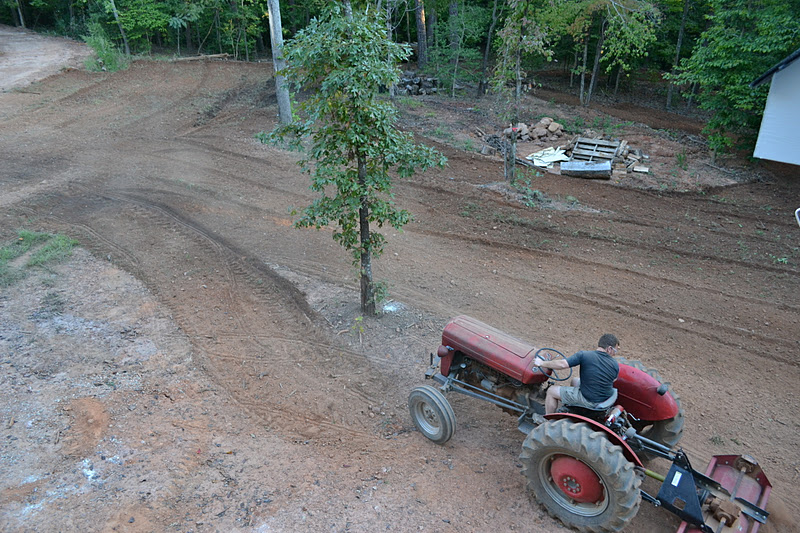
The good news is our septic and water lines were approved, so we can fill in the ditch before it turn into a mud pit.
It looks like a lot of things to fix, but most of them are quick and painless. The big time-consuming ones are the plywood walls and the extra support under deck. That will take several days that we don't really have, but now we have to make the time. The rest of the stuff should only take a day or two assuming we have all the materials (finding garage door ribs will be difficult since we bought it used a don't know the manufaturer), and we are running out of Saturdays in the year to work on this. Luckily, Matt saved all his vacation until October, so he's been taking lots of days off lately to get work done on our house. He still has about 6 more days he can take off in 2011.